Install Android Studio
Here’s a step-by-step guide on how to install Android Studio on your computer:
Introduction to Android Studio
Android Studio is the official Integrated Development Environment (IDE) for Android app development, built and maintained by Google. It provides a comprehensive suite of tools for developers to create, test, and deploy Android applications efficiently.
Supported Languages
- Java: Traditionally the primary language for Android development.
- Kotlin: A modern, statically typed language that is now the preferred language for Android development, fully supported by Google.
- C++: Supported for native Android development using the Android NDK (Native Development Kit).
1. Download Android Studio
- Visit the Android Studio website: Go to the official Android Studio download page.
- Download the installer: Click on the “Download Android Studio” button. Agree to the terms and conditions to start downloading the installer for your operating system (Windows, macOS, or Linux).
2. Install Android Studio (Windows)
For Windows:
- Run the Installer: Double-click the downloaded
.exefile to launch the installer. - Install Type: Choose “Standard” for the installation type, which includes the most common settings and options. If you are an advanced user, you can select “Custom” and adjust the settings.
- Components: Ensure that Android Studio, Android SDK, Android Virtual Device, and HAXM (Hardware Accelerated Execution Manager) are selected.
- Installation Path: Choose an installation path or leave it as default. Click “Next” to continue.
- Install: Click “Install” to begin the installation. The installer will download and configure necessary components.
- Finish Installation: Once the installation is complete, click “Finish” to exit the installer. Android Studio will launch automatically.
3. Install Android Studio (macOS)
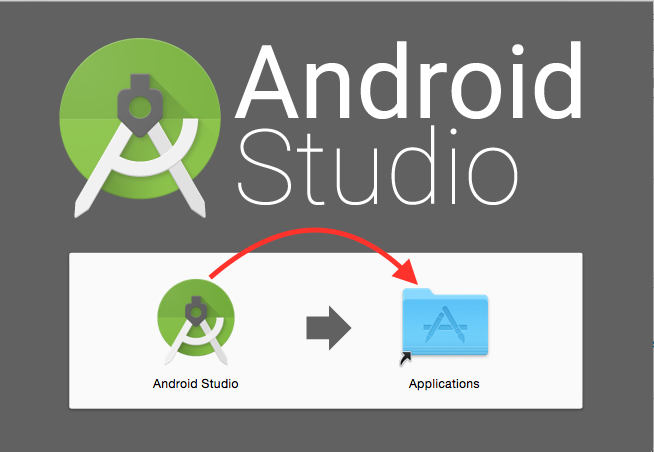
For macOS:
- Open the Disk Image: Double-click the downloaded
.dmgfile to mount it. - Drag and Drop: Drag the Android Studio icon to the “Applications” folder.
- Launch Android Studio: Go to the “Applications” folder and double-click on “Android Studio” to launch it.
- Setup Wizard: Follow the setup wizard to configure the necessary SDK components and start the IDE.
4. Install Android Studio (Linux)
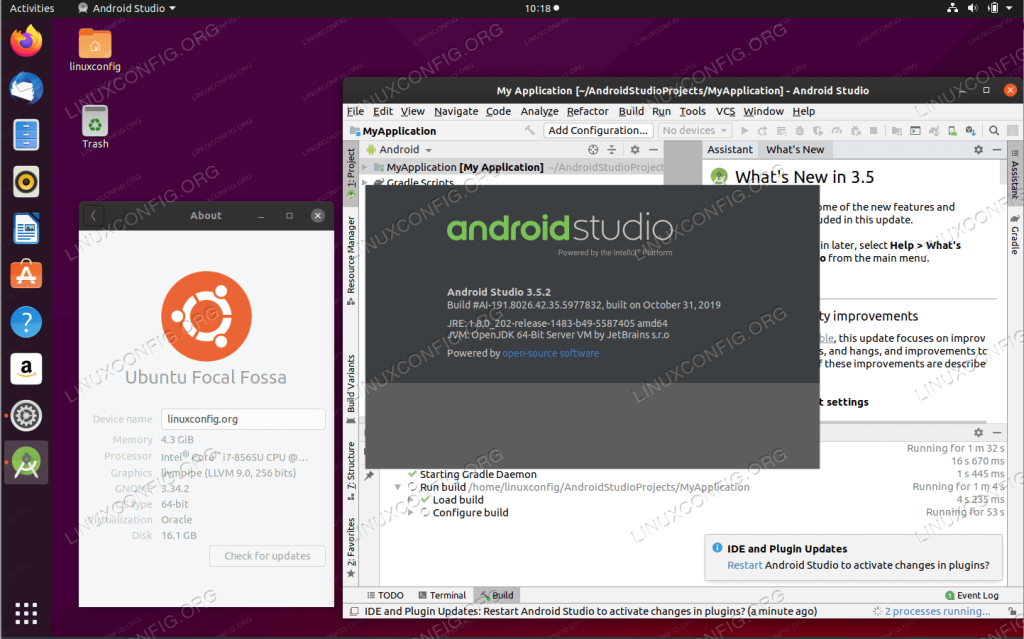
For Linux:
- Extract the Tarball: Open a terminal and navigate to the directory where the downloaded file is. Extract the
.tar.gzfile using the following command:bashCopy codetar -xvf android-studio-*.tar.gz - Move to /opt directory: Move the extracted folder to
/optfor a system-wide installation:bashCopy codesudo mv android-studio /opt/ - Launch Android Studio: To start Android Studio, run the following command:bashCopy code
/opt/android-studio/bin/studio.sh - Create a Desktop Entry (optional): To create a shortcut, run:bashCopy code
sudo gedit /usr/share/applications/android-studio.desktopAdd the following content:makefileCopy code[Desktop Entry] Version=1.0 Type=Application Name=Android Studio Exec="/opt/android-studio/bin/studio.sh" %f Icon=/opt/android-studio/bin/studio.png Categories=Development;IDE; Terminal=false - Save and close the file. Now, you can launch Android Studio from the application menu.
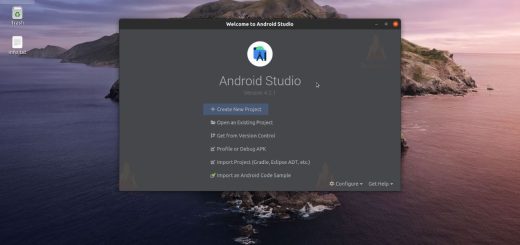
5. First-Time Setup
- Welcome Screen: When you first launch Android Studio, you’ll see a welcome screen.
- Configure SDK: The setup wizard will guide you through downloading the Android SDK, setting up an Android Virtual Device (AVD), and installing additional components.
- Create a New Project: After setup, you can create a new Android project, explore sample projects, or open an existing project.
6. Update Android Studio and SDK Tools
- Check for Updates: Go to
Help > Check for Updates(on Windows/Linux) orAndroid Studio > Check for Updates(on macOS) to ensure you have the latest version of Android Studio and SDK tools.
7. Install Additional SDK Packages (Optional)
- SDK Manager: You can open the SDK Manager from
Tools > SDK Managerto install additional SDK platforms, tools, and system images.
8. Test Your Setup
- Create a Virtual Device: You can create a new Android Virtual Device (AVD) by going to
Tools > AVD Manager. - Run an App: Create a new project and run it on the virtual device to ensure everything is set up correctly.
9. Start Developing
You are now ready to start developing Android apps using Android Studio!